This part was the most interesting one yet. I wanted to create a real simple user interface, so I can see the current temperature and if the machine is currently heating. This could be done writing all from scratch, but to make this more convenient I included Bootstrap 4 and jQuery to the page. As the libraries are also needed in access point mode, I couldn’t load them from a CDN and had to serve them from the ESP. 159 KB for BS4 and 88 KB for jQuery may not sound very much, but already have a very noticeable impact on loading time. More on that later.
The Frontend
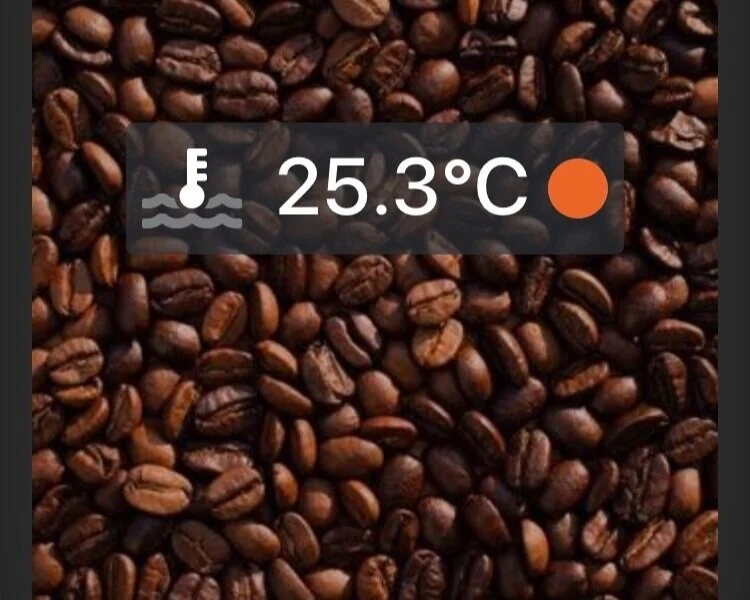
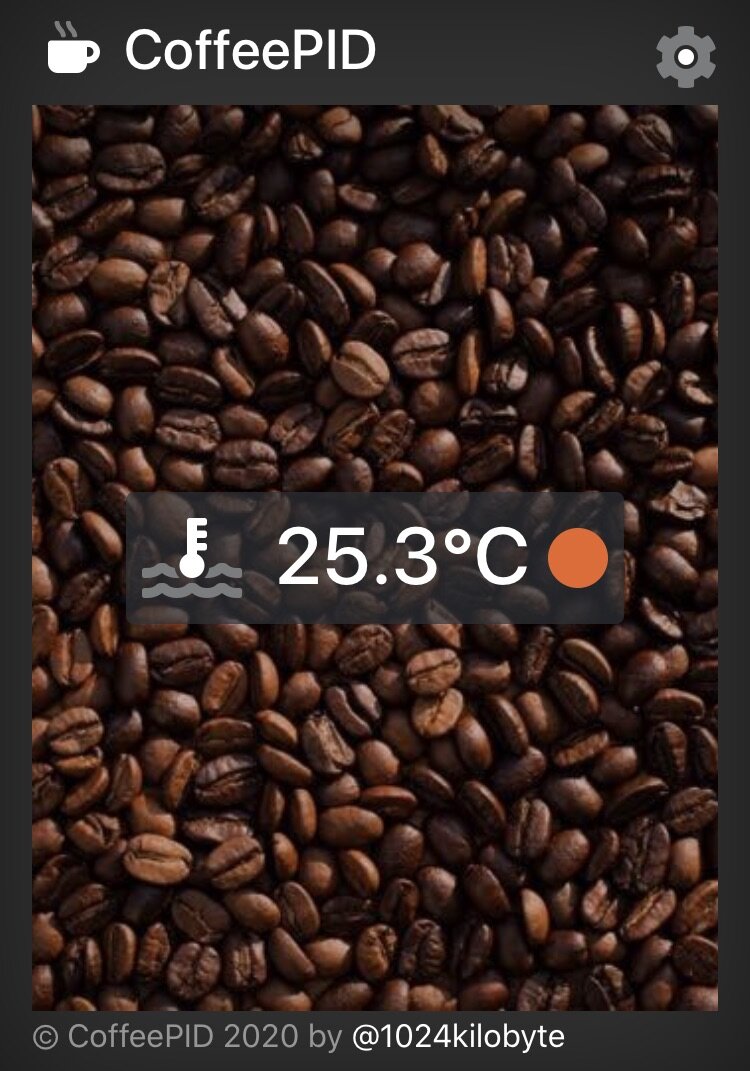
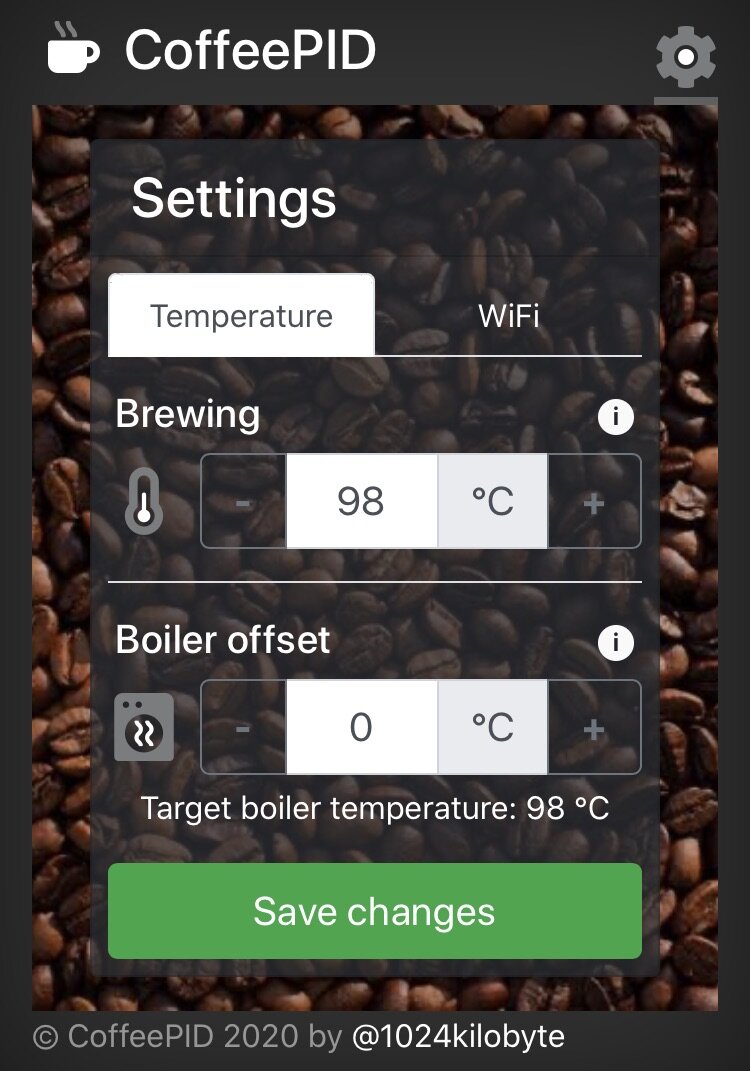
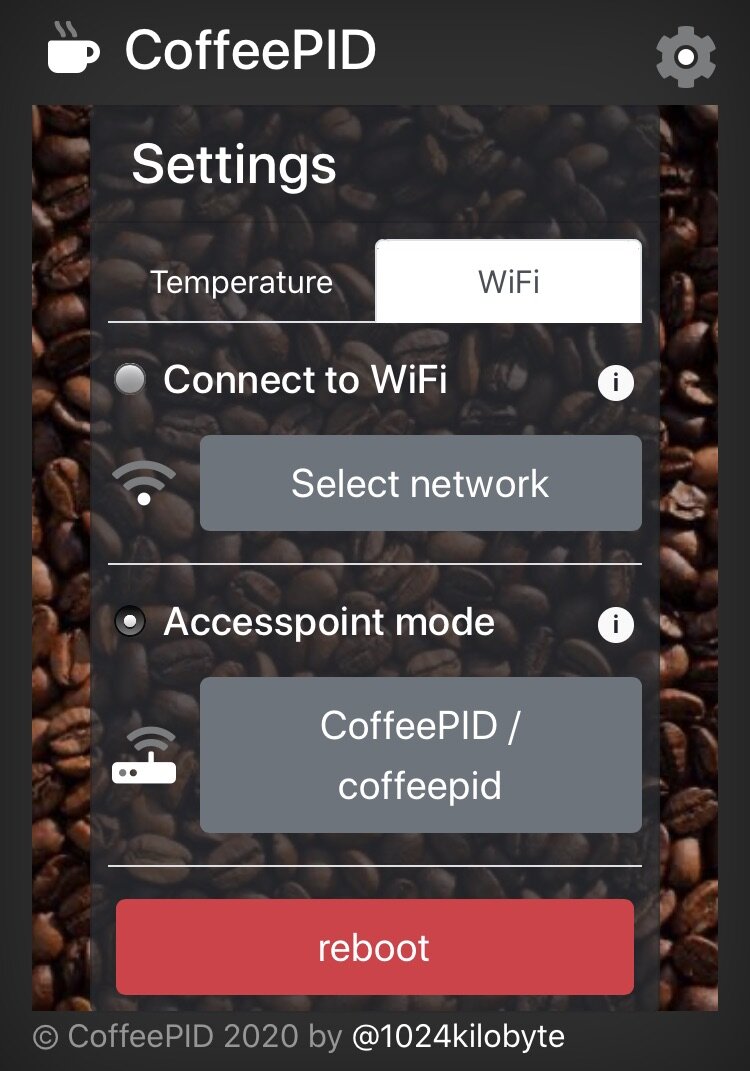
As I wanted to keep this really simple, the main page only shows the current temperature of the boiler and an indicator if it is heating. And then of course there is the settings page to set the target temperature and change the wifi settings. I also added some convenience functions for setting up the wifi connection, this way I can see the signal strength of the received wifi networks.
After initial load of the site, the content is updated via ajax calls. Changing the settings or rebooting the ESP is also implemented via additional ajax endpoints.
Although the website is not complex at all, there was quite a some potential to optimize it for the ESP8266. This is mainly due to the poor data transfer rate you get in real life situations, especially compared to current computers and smartphones. But if the web server and -site are implemented correctly the result can be pretty snappy. Which brings me to the next point:
Optimize, Optimize, Optimize
I spent quite some time on this step, as everything should be as fast as possible, so I optimized the web server and website for minimal transfer size and maximum performance. To achieve this I
optimized html files using preload, async and defer
reduced overall file count (reducing the number of requests) - some people might think that combining files is a bad idea, because this way the files could not be loaded in parallel. But the ESP8266 doesn’t transfer the files over WiFi in parallel; in this case it’s a good idea to reduce the total number of requests to eliminate server processing and latencies from those extra calls.
purged all unused css from css-files (using purgecss) - in my case this reduces the size of the Bootstrap library from 159KB to 34KB 🎉
minified all js and css files
optimized all image files
compressed ALL files (assuring all files are transferred gzipped to the client)
optimized the critical code path on the server
After all optimizations I ended up at around 135KB transfer size to the client and less than 1 second of initial load time. As all files are cached on the client, all subsequent calls are much faster. Also I want to mention that my background image alone is 62 KB in (compressed) size, so the rest of the site is around 73 KB, which is pretty good.
To make the process of editing the website and prepare it for deployment more comfortable, I added a small shell script (included in the Github repo), which mainly executes all optimization steps on the website. After executing the script, the directory is ready to be copied to the LittleFS.
The ESP can obviously handle much more complex websites, even if the website itself doesn’t fit into the LittleFS area of the flash, you could for example use an SD card breakout to serve your site from a SD card. Also a complex site doesn’t have be slow, it depends a lot on the purpose and content. The optimization steps above can be applied to every website and are especially advised in such a resource constrained environment. But if you don’t need the site to work on access point mode and can assume that the client has an internet connection, you should offload as many resources to “the web” as you can. Fonts, CSS and JS (especially Bootstrap and jQuery) can easily be loaded via CDN and most other assets, like images, should also be loaded from a “real” web server on the internet. Just be sure to check the constraints of your final application before starting to optimize.
But I didn’t “just” optimize the website, I also tested different web servers on the ESP for their performance. That is why I also gave “ESPAsyncWebServer” a try, which works completely asynchronous and should be able to perform a lot better than “ESP8266WebServer” under certain conditions. Unfortunately in our special scenario, it didn’t show any performance improvements at all. This is most likely due to the fact, that there will be (at least most of the time) just one client accessing the web server at a time, so it seems the async implementation can’t really show its potential here. That is why I ended up using the package “ESP8266WebServer”.
The web server
Regarding the implementation of the “ESP8266WebServer” library, there are basically two ways to serve files from LittleFS. You can use sth. like:
This is cool, as it serves all files from the LittleFS-folder “/www/”, sets the cache header and automatically serves a “.gz” version of the requested file if available. So in many cases this is all you need to host a whole website.
But after a lot of testing I decided against the “serveStatic”-way, as it is slightly, but measurable, slower than handling the file serving yourself. This is only logical, as we can optimize the code executed on every request much better to our specific use-case. You can do this by defining handler functions (per route) or even easier, just only define a onNotFound-handler. It will then be called on every unregistered route, so for every file of the website. Our handler then loads the requested file from LittleFS, sets the correct file type and cache headers and serves the file using the “streamFile” functionality.
As we created the website ourself we can take an opportunistic approach in the handler function, therefore we assume all files exist as gzipped version and we can limit the support of file types to the ones used in the project. This way the critical path, meaning the code on the microcontroller that gets executed on every request, can be simplified. Even sorting the file types by frequency of occurrence will have a positive performance impact (although this most likely wont have a noticeable effect).
Finishing touches
Now we have a fast frontend to check our water temperature, but you still have to open a browser and navigate to “http://coffepid.local“. Even if you bookmarked the address, this is not really user friendly. To make this more convenient I added some meta tags to the head of the page and added an app icon, so you can use it as a web app. I don’t have any Android devices around, but on iOS you can easily create a link to a website on your home screen (this is most likely also true for Android, I just can test it). Now I can open the web interface using the app icon on my iPhone or iPad. Cool.
NOT FINISHED AT ALL
After playing around with this once called “sweet solution” of web applications, I reached one limitation. My website was generally based on two files (with additional css and js), a homepage and a settings page. That meant navigating between the sites changes the route in the browser and therefore leaving fullscreen mode of the web application. To overcome this limitation the page had to be served from one file, to implement navigation I used hash routing. It was very interesting to implement this, what is basically a very simple SPA-framework. This is mainly done just using one html file to load all the resources and act as a template and one javascript file managing routing and AJAX calls. I won’t go into the details here, as it would go beyond the scope of this post, but you can take a look into the code over at Github.
This solution works fine, but changing the content of the website is now pretty uncomfortable, as the html content of the site is now dynamically injected as a javascript string (from the file “content.js”). Also for such a minimal web interface using Bootstrap is definitely a bit heavy, but as my CSS skills are quite limited, this was the obvious choice. But if you are a designer / frontend developer and want to help out, feel free to reach out to me. A little help would be really appreciated.
Wrap up
As the hardware setup, “firmware” and frontend are somehow finished, the next step will be the integration into the Gaggia Classic. I will share the details on the build and of course the first results on how the heat up process looks like.